A drain with a stated width and depth is not automatically adequate for your site: peak runoff, operating water depth, slope, wheel loading and cover design all change the result. By the end, you will be able to calculate the required flow section, check whether a light-duty unit is suitable, and prepare a purchase and installation specification that exposes gaps in a supplier’s data.
Key takeaways
- Calculate peak flow with Q = C × i × A and include upstream inflow.
- Use clear internal dimensions to size excavation, bedding and drain layout.
- Match the drain and cover load class to the heaviest expected traffic.
- Require drawings, concrete details, tolerances and test records before ordering.
How do you calculate the drain size required for peak runoff?
Calculate the peak design discharge with the Rational Method: Q = C × i × A, where C is the runoff coefficient, i is rainfall intensity, and A is the catchment area. Select rainfall intensity from the storm return period required for the site, then add any known upstream inflow.
| Input | What to establish | What goes wrong if ignored |
|---|---|---|
| Catchment area and runoff coefficient | Roofs, paving, soil and landscaping draining to the channel | Runoff volume is understated |
| Rainfall intensity and storm return period | Design storm duration and frequency | Average rainfall produces an undersized drain |
| Slope and clear section | Longitudinal fall, clear width and operating depth | The drain cannot convey the calculated flow |
| Freeboard | Wall height above operating water level | Debris, turbulence and settlement cause overtopping |
Check the section using clear internal dimensions, not outside width. For a rectangular U-drain, A = by, P = b + 2y, R = A/P, and Manning’s equation is Q = (1/n)AR^(2/3)S^(1/2). Compare this hydraulic capacity with the peak design discharge at the proposed slope.
Do not fill the channel to its wall top. Require the supplier to state the operating depth and remaining freeboard, then increase width or depth when the capacity margin is inadequate.
How do internal dimensions change excavation, bedding and layout?
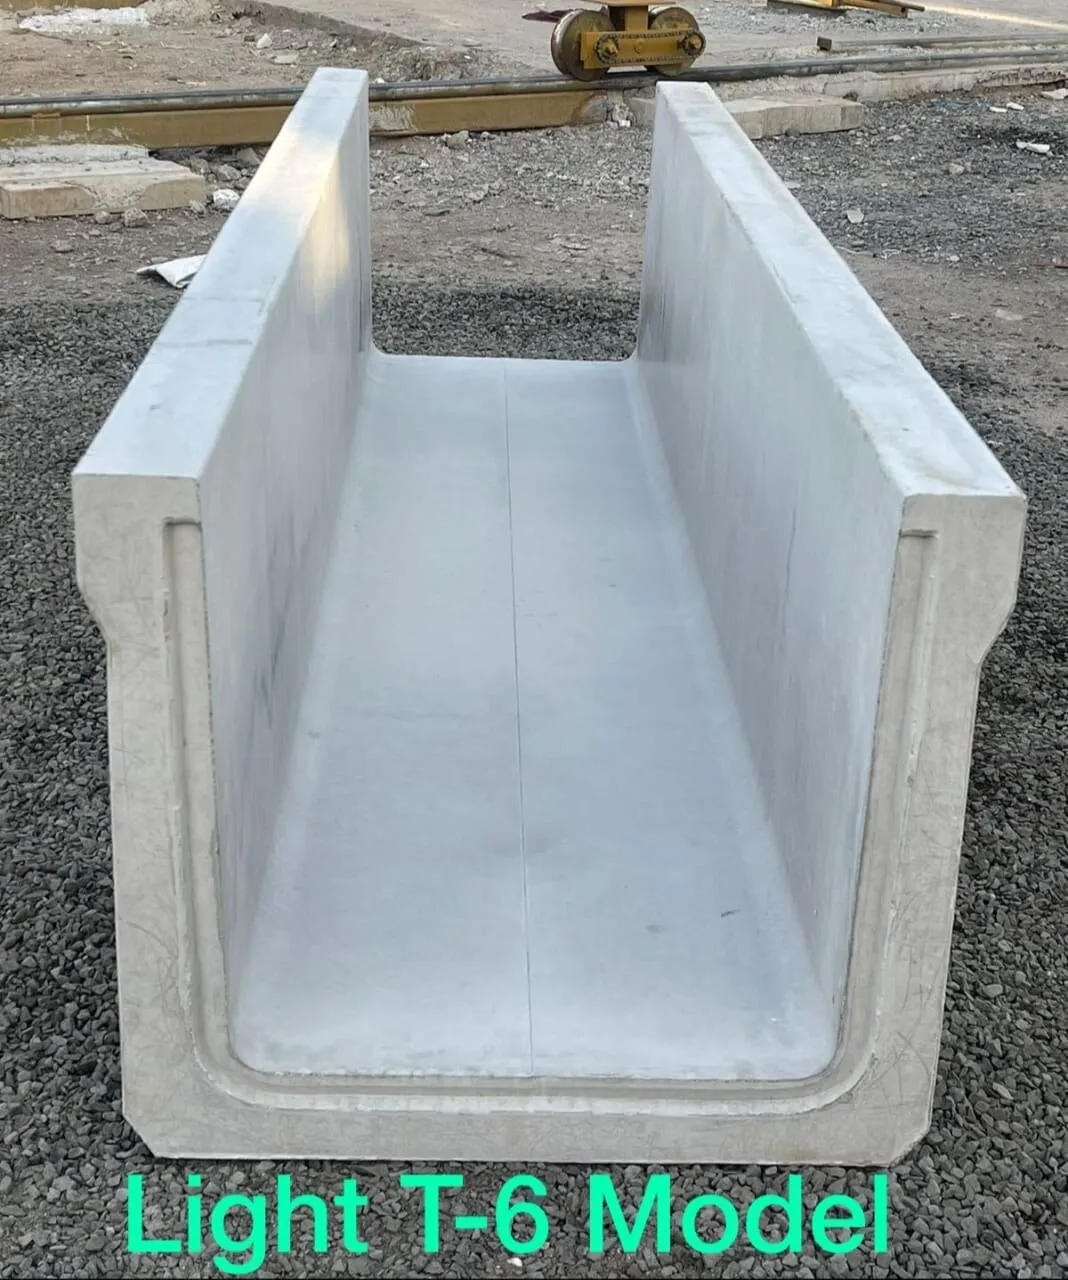
Use the clear internal width and depth to build a dimensional schedule; do not order from a label such as “300 mm drain.” Record:
- Clear internal width and operating depth, measured between finished inside faces
- Wall thickness and base thickness, then calculate external dimensions as clear size plus two walls and the base
- Granular bedding thickness, subgrade preparation requirements and the resulting excavation depth below the design invert
- Unit length, joint space and working clearance, which determine excavation length and the number of joints
- Invert level at each unit, longitudinal fall, inlet and outlet levels, and the dimensions of every transition
- Cover or grating thickness, frame width and any space needed for connections or lifting
The excavation must fit the external dimensions, not the hydraulic opening. Add the specified side clearance for placing and compacting backfill; a narrow trench can leave voids beneath the walls and cause settlement.
Set the channel floor at the scheduled invert after allowing for bedding and base thickness. At changes in direction, depth or width, show the transition length and joint position on the layout.
Check this against the actual excavation width available: if it cannot accommodate the unit, bedding, jointing and compaction access, revise the section before ordering.
How do you select a load capacity for pedestrians, vehicles and covers?
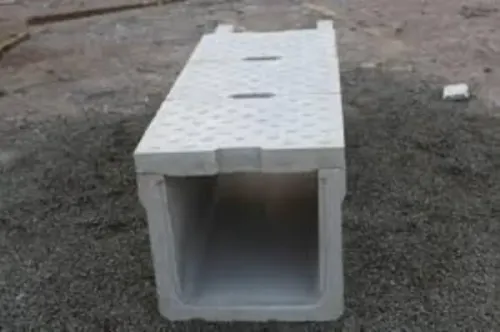
Select the load class from the heaviest real use above the drain, not from concrete strength alone. A pedestrian path may suit a light-duty classification, while a vehicle crossing requires wheel loading through the cover or grating, frame, channel walls, bedding and surrounding soil.
For a covered crossing, require the design to identify:
- The heaviest vehicle, axle and wheel position, including cars, tractors, trucks or construction equipment.
- The cover load rating and clear span, including how the cover transfers force to its frame or channel walls.
- The channel body’s wall and base thickness, reinforcement area, bar placement and concrete grade.
- Bedding thickness and material, backfill compaction, side support and excavation tolerances.
- Surcharge from traffic beside the drain, lateral earth pressure, hydrostatic pressure and differential settlement.
- Construction-stage loading before backfill confinement is complete.
EN 1433 A15 B125 C250 D400 classes describe tested drainage-channel systems, including the specified cover or grating: A15 suits pedestrian areas, B125 vehicle-access areas, C250 kerbside zones and D400 carriageways. Do not transfer these labels automatically to an uncovered RCC U-drain or a locally designed slab.
Ask for the governing load combination and installation drawing; a high concrete cube strength does not prove traffic capacity.
When is a U-shaped drain the right drainage system for the site?
Choose a U-shaped precast drain when you need predictable flow, rapid installation and accessible cleaning without the excavation and curing period of a cast-in-situ concrete channel. It suits roadside, industrial and site drainage where open flow matters more than a fully buried system.
| Option | Flow and access | Construction disruption and joints | Repairability, safety and water-tightness |
|---|---|---|---|
| U-shaped precast drain | High open-flow capacity; easy rodding and inspection | Low disruption; joints at each unit, fewer with longer units | Individual units are replaceable; cover it where pedestrian safety matters; sealed joints improve water-tightness |
| Cast-in-situ concrete channel | Flexible shape and continuous flow path | High disruption; no unit joints, but curing delays | Repairs require breaking concrete; open edges create safety risks; good water-tightness depends on workmanship |
| Box drain | Strong enclosed route; less visible access | Greater excavation and lifting demand than a U-drain; joints at units | Difficult internal cleaning; covers improve safety; sealed joints control leakage |
| Half-round pipe | Efficient for modest flows; narrow access | Quick installation; many socket or collar joints | Damaged sections are replaceable; safer when buried; joints can leak |
| Open masonry drain | Flow reduces with rough, uneven surfaces and silt | Slow construction; numerous mortar joints | Easy to patch but prone to cracking, hazards and leakage |
| Covered trench drain | Good surface interception; removable grating gives access | Moderate disruption; frequent frame and cover joints | Easy cleaning; safest at crossings; watertightness depends on channel and joints |
Use buried drainage when contamination, traffic or pedestrian access rules make an open channel unsuitable. A U-drain is the wrong choice where frequent vehicle crossings require a certified cover system rather than a locally added slab.
What should you require from a U shape drain manufacturer before ordering?
Before approving a purchase, require a written submittal that identifies the proposed drain size, complete installed load class, installation assumptions and delivered quantity.
1. Ask for a dimensional schedule showing clear internal width and depth, overall width, wall thickness, base thickness, unit length, cover arrangement, joint width and manufacturing tolerances. Confirm whether quoted dimensions are nominal or clear dimensions.
2. Require the structural basis separately from the concrete grade. The schedule must state reinforcement diameter and spacing, reinforcement location, cover thickness over steel, concrete grade, design loads and governing load combination. It should address wheel loads, surcharge, earth pressure, blocked-drain water pressure, differential settlement and construction-stage loading.
3. Request the assumed bedding thickness, support continuity, backfill material and compaction, soil condition, cover span, wheel-load position, invert levels and allowable slope. The channel body, cover, frame and joints must be rated as one installed assembly.
4. Obtain test evidence, including compressive-strength reports, dimensional inspection records and any load-test method and result. Also ask for the curing method and concrete age at dispatch; a finished-product photograph is not test evidence.
If Triilok Precast is quoting a standard unit, ask them to mark these details against the actual site schedule rather than approving a catalogue label alone. Confirm unit count, spare quantity, cover count, joint materials, delivery sequence and unloading responsibility before placing the order.
Related product
 | U Shape Drain Drain Material RCC Internal Width 150 mm Internal Depth 200 mm Length Per Piece 500 mm Load Class Light Duty Cover Type With Cover Reinforcement Type... View product → |
How should you install, inspect and maintain the selected drain?
Install the drain to the surveyed invert, not to the excavation bottom. Check each unit’s level and longitudinal slope with a laser, place it on uniform compacted bedding, and prevent point contact with rocks or hard spots.
- Use the approved unit inspection checklist before lowering each section: reject units with structural cracks, broken edges, exposed reinforcement or distorted ends.
- Keep the specified plain-end joint gap consistent; use mortar or sealant only on clean, aligned faces and follow its curing time.
- Compact backfill in controlled layers on both sides to prevent displacement, then protect the drain from construction traffic.
- Detail inlet, outlet and size transitions so flow does not strike a step, open a joint or bypass the channel.
Inspect after initial backfill, after heavy rain and at scheduled intervals. Look for settlement, ponding, open joints, displaced covers, cracked units and erosion at transitions. Record locations and photographs so a recurring defect is not mistaken for a one-off failure.
Before the Nagpur monsoon, remove leaves and accumulated silt, check every inlet and outlet, and clear downstream obstructions. During the season, inspect after intense storms for Nagpur monsoon runoff and silt loading; clean standing deposits promptly, and replace damaged units rather than concealing them with patch mortar.
Frequently asked questions
How do you calculate the drain size required for peak runoff?
Use the Rational Method, Q = C × i × A, then add known upstream inflow. Select rainfall intensity for the required storm return period and compare the resulting flow with the drain’s hydraulic capacity.
How do internal dimensions change excavation, bedding and layout?
Base excavation on the drain’s external width, depth, joint arrangement and required bedding thickness. Use the clear internal width and depth for hydraulic calculations, not the outside dimensions.
How do you select a load capacity for pedestrians, vehicles and covers?
Classify the area by its heaviest traffic, including delivery vehicles and maintenance equipment. Specify a matching drain and cover load class, and confirm the supporting concrete, bedding and edge restraints.
When is a U-shaped drain the right drainage system for the site?
Choose it for open-channel collection along roads, compounds, yards, footpaths and landscaped areas where inspection and cleaning access matter. Use a closed or piped system when safety, access, contamination control or limited space rules out an open channel.
What should you require from a U-shape drain manufacturer before ordering?
Request dimensioned drawings, clear internal and external sizes, concrete grade, reinforcement details, unit weight, tolerances, joint details, load ratings, cover specifications and inspection or test records.